Show summary Hide summary
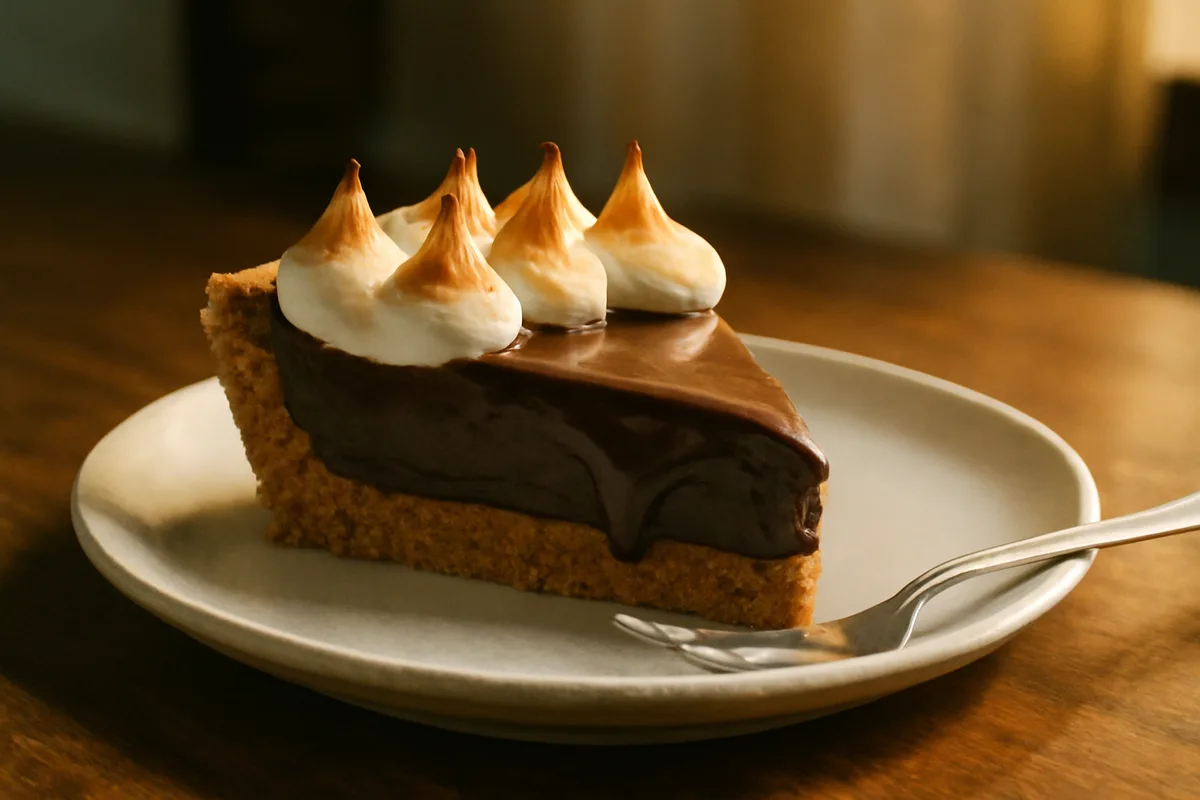
S’mores pie takes the familiar campfire trio—crunchy crust, melted chocolate and toasted marshmallow—and turns it into a portable, sliceable dessert that travels to picnics, patios and holiday tables. With straightforward ingredients and a few technique choices, you can scale this dessert for a weeknight treat or a crowd-ready finale.
What you’ll need
Below are a reliable ingredient list and basic yield so you can plan time and portions before you start.
Christa Pike released from hospital after failed execution, attorneys say
Dolly Parton tribute drives Madonna Inn crowds: steakhouse unveils limited menu
| Ingredient | Quantity |
|---|---|
| Graham cracker crumbs (or digestive biscuits) | 1 1/2 cups (about 150 g) |
| Unsalted butter, melted | 6 tablespoons (85 g) |
| Semi-sweet chocolate (chips or chopped) | 9–10 ounces (250–280 g) |
| Heavy cream (for ganache) | 3/4 cup (180 ml) |
| Large marshmallows or mini marshmallows | 2 cups (or about 12 large) |
| Pinch of salt | — |
| Serves | 8–10 slices |
| Active time / Total time | 20 minutes / about 1 hour (including chilling) |
Quick method
Start by pressing the crust into a 9-inch tart pan or pie dish. Mix the crumbs with melted butter and a pinch of salt, then compact the mixture firmly along the bottom and up the sides. Chill for at least 10 minutes to help it set.

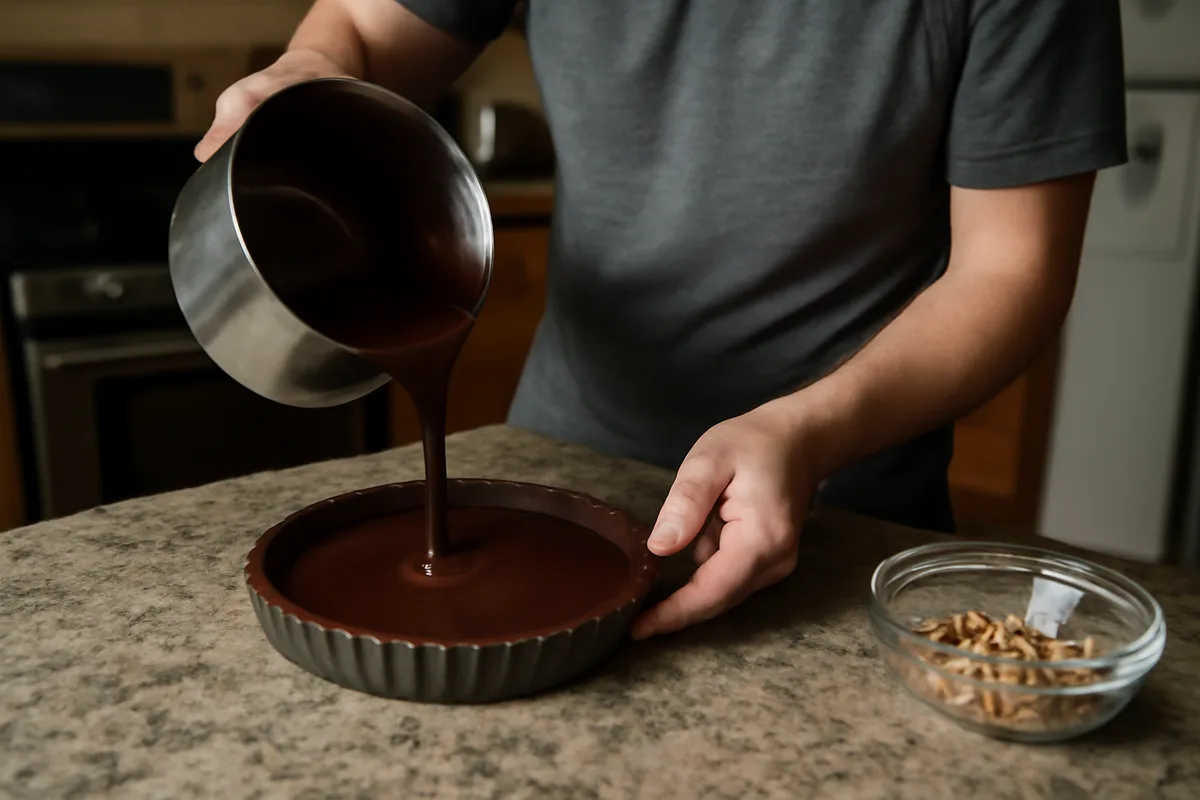
Warm the cream until it just begins to simmer, then pour it over the chopped chocolate. Let it sit for 30–60 seconds before stirring until smooth to make a glossy chocolate ganache. Pour the ganache into the chilled crust and smooth the surface. Refrigerate for 30–40 minutes so the filling firms but is still slightly soft.
Top the pie with an even layer of marshmallows. For that classic browned finish, briefly place the pie under a high broiler until marshmallows puff and color, or use a handheld culinary torch to toast them more precisely. Allow the pie to rest a few minutes so the marshmallow sets; cut with a hot knife for cleaner slices.
Step-by-step notes and timing
- Crust setup: 10–15 minutes to mix and press, plus chilling time.
- Ganache: 5–10 minutes to prepare and pour.
- Chill: 30–40 minutes for a sliceable texture; overnight refrigeration yields a firmer slice.
- Toasting: 1–3 minutes under the broiler or about 30–60 seconds with a torch—watch closely to prevent burning.
Practical tips
Small technique choices change the result:
- If you prefer a firmer base, add a tablespoon of sugar to the crust mixture or bake the pressed crust at 350°F (175°C) for 8–10 minutes before filling.
- For extra richness, stir a tablespoon of butter into the warm ganache. A splash of vanilla or a pinch of espresso powder will deepen the chocolate flavor without tasting like coffee.
- Short on time? Use store-bought cookie crusts and mini marshmallows for a faster assembly; the texture will be different but still satisfying.
- To avoid a sticky top when slicing, chill the pie briefly after toasting marshmallows so the surface firms slightly.
Dietary swaps and variations
Adaptations make this dessert accessible:
- Gluten-free: Use gluten-free graham crumbs or crushed gluten-free cookies for the crust.
- Vegan: Substitute plant-based butter, use dairy-free chocolate and coconut cream in place of heavy cream; check marshmallows for gelatin-free varieties.
- Flavor twists: Add chopped toasted nuts to the crust, swirl salted caramel into the ganache, or sprinkle flaky sea salt on top for contrast.
Storage and serving
Keep leftover slices refrigerated in an airtight container. They stay best for 2–3 days; the marshmallow top will gradually lose some loft but retains flavor. For transport, refrigerate until firm and bring in a rigid container to prevent collapse.
Warm slices slightly before serving if you want the chocolate softer—10–15 seconds in a microwave or a few minutes at low oven heat is enough.
S’mores pie condenses a familiar, nostalgic flavor into a format that fits modern entertaining: easy to portion, simple to customize and quick to assemble. Whether you’re hosting a backyard party or want a cozy dessert that echoes summer evenings, this recipe balances nostalgia with practical kitchen sense.